
Restoring a period front door on a Brighton terrace
Key takeaways
- A tired front door is usually a repaint and a localised repair, not a replacement, even when the paint is flaking and the bottom rail looks rough.
- Strip back to bare timber where the old paint has failed, so the new finish keys onto sound wood rather than lifting again in a season.
- The weathered bottom rail is the part that takes the weather. Stabilise soft timber with Ronseal Wet Rot Wood Hardener, then rebuild it with Repair Care Dry Flex 16.
- Knot any live knots and prime the bare timber before topcoats, or resin and bare wood will bleed and blister through your finish.
- A south-facing door in a coastal town needs proper prep and enough coats of an exterior finish, not one thick coat, to hold up to salt air and driving rain.
Assessing a weathered front door before you touch it
Before any stripping starts, work out what has actually failed. On a period front door the paint usually goes first at the bottom rail and the lower panels where rain runs off, and the timber underneath is often still sound and worth saving. A door can look far worse than it is.
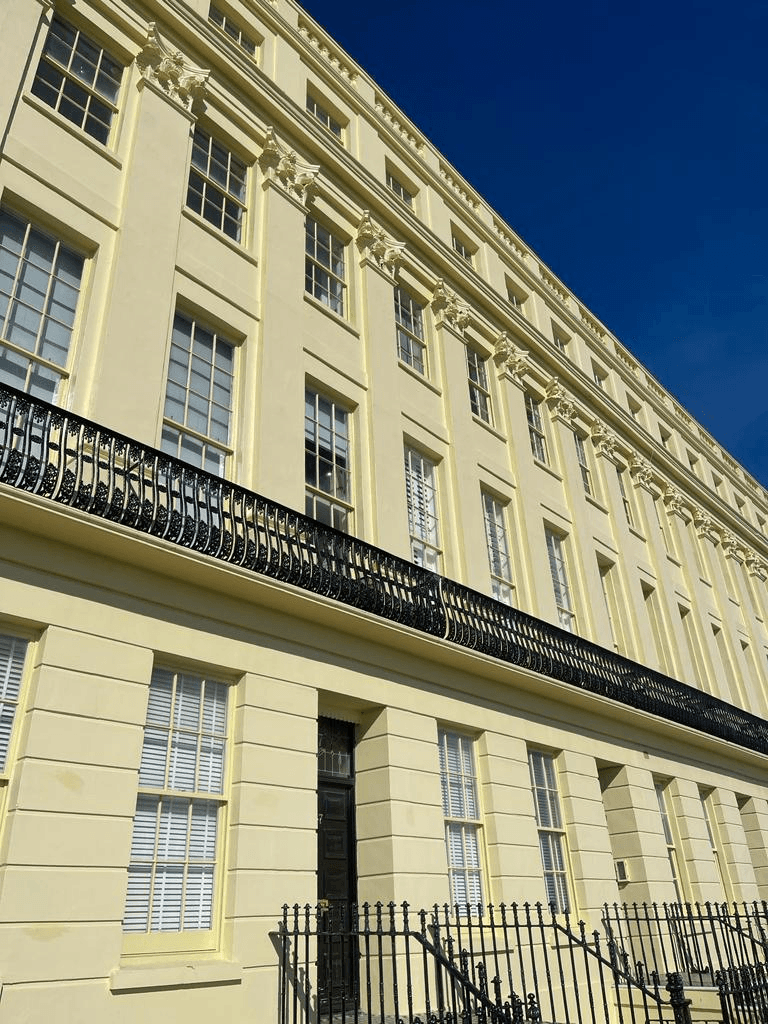
The terraces around Brighton and Hove have some lovely original front doors, and a lot of them are the same age as the house. On the Regency and Victorian streets the door is part of the frontage, so replacing it with a modern one changes the look of the whole property, and in a conservation area it may not be an option at all.
When I look at a tired door, I am checking two things. First, where has the paint failed, because that tells me where water has been getting in. It is nearly always the bottom rail and the lower part of the door, where rain runs down and sits. Second, how sound is the timber underneath. I press a screwdriver into the suspect areas: if it is firm, the wood is fine and just needs stripping and repainting. If it sinks in, that section has softened and needs a repair before anything else.
Most of the doors I am asked to replace do not need replacing. They need the old paint taken off, a localised repair to the bottom rail, and a proper repaint. That keeps the original door, the original ironmongery, and the character of the house, and it costs a good deal less than a new one.
- Flaking, blistered or crazed paint, worst at the bottom rail and lower panels
- Soft or spongy timber on the bottom rail that gives under a screwdriver
- Dark staining or open joints where water has been sitting
- A door that has swollen and sticks in its frame after rain
Your front door is the first thing anyone sees. Most of the ones I am asked to replace only needed stripping back, a proper repair to the bottom rail, and a repaint in the right colour.
Stripping back the old paint layers
Old paint comes off with a heat gun for the bulk of it and a chemical stripper for mouldings and detail, taking the door back to bare, sound timber wherever the finish has failed. Stripping properly is what lets the new paint key on and last, rather than sitting on top of failing layers.
A period door can carry decades of paint, sometimes a dozen layers or more, and a lot of it is no longer bonded to the wood. Painting over that just adds another coat to something that is already lifting. So where the finish has failed I take it back to bare timber.
For the flat areas I use a heat gun and a scraper, working carefully so I am softening the paint and lifting it, not scorching the wood. Around the mouldings and the panel edges, where a scraper cannot follow the profile, I switch to a chemical stripper that gets into the detail without damaging the timber. On older doors I stay mindful that early paint layers can contain lead, so I work wet where needed, avoid creating dust, and clean up properly.
Once it is stripped, I sand back to a sound, keyed surface and let the door dry out. On an exterior job that means picking a dry spell, which in a coastal town takes a bit of planning around the weather. Bare timber needs to be genuinely dry before any repair or primer goes on.
Repairing the bottom rail: the products I actually use
The bottom rail is where a front door takes its punishment, so it is usually where the repair happens. If the timber there has softened, I first rake out anything that is truly rotten back to firm wood, then stabilise the slightly soft fibres at the edges with Ronseal Wet Rot Wood Hardener. It soaks in and binds the wood so the filler has something solid to key into instead of crumbling timber.
For rebuilding the rail itself I use Repair Care Dry Flex 16. It is a two-part system made specifically for structural timber repair on doors and windows, not a general-purpose filler. It stays slightly flexible, so it moves with the door as the timber expands and contracts through the seasons rather than cracking away from it, which matters on a door that is opened and shut every day and sits out in the weather. For smaller, shallower defects a good two-part high-performance wood filler does the job.
On badly weathered, greyed timber I sometimes work in a little Owatrol oil, which penetrates and stabilises the tired wood and helps the primer take evenly. Once the repair has cured I build it slightly proud, then shape it back with a plane and abrasives until it matches the original profile, so you cannot see where the old timber ends and the repair begins.
- Ronseal Wet Rot Wood Hardener to stabilise softened timber before filling
- Repair Care Dry Flex 16, a flexible two-part system, for rebuilding the bottom rail
- A quality two-part high-performance wood filler for smaller, shallower defects
- Owatrol oil, optional, worked into weathered wood to help the primer take
- A knotting solution to seal any live knots before priming
Knotting, priming and finishing in a heritage colour
With the repair shaped back, knot any live knots, prime all the bare timber, then build up an exterior eggshell or gloss in the colour the house wants. On a south-facing coastal door the prep and the number of coats are what make the finish last for years rather than months.
Before any topcoat goes on, I seal any live knots with a knotting solution so resin cannot bleed up through the paint and stain it, then prime all the bare timber and the repair with a quality primer or undercoat so the whole door is sealed and working as one surface. Bare wood left unprimed under a topcoat is the most common reason a repaint fails early.
For the finish I use an exterior eggshell or gloss, building it up in proper coats rather than one thick one, rubbing down between them. The colour is worth thinking about, because the front door sets the tone for the whole frontage. I work with the heritage ranges the house tends to suit, Little Greene and Farrow and Ball for the period colours, or Dulux and Johnstone's where the client prefers, and I will match in with the rest of the joinery and the street.
A south-facing door in Brighton takes the full brunt of the sun, the salt air and the driving rain, so the prep and the coats matter more here than they would inland. Done this way, a restored front door lifts the whole look of the house, keeps its original character, and holds up to the weather for years. If your front door is looking tired, I am fully insured and have been restoring and repainting period joinery across Brighton and Hove for around 20 years. ask for an estimate with a couple of photos and I will come and take a look.
Frequently asked questions
Can an old front door be restored, or is it better to replace it?
In most cases it can be restored. The paint and the weather damage on a period front door are usually localised to the bottom rail and lower panels, and the rest of the timber is often still sound. Stripping it back, repairing the rail with a two-part timber system and repainting keeps the original door and its character, and costs a good deal less than a replacement. Full replacement is only really needed when the timber is rotten right through.
What is the best way to strip paint off a period front door?
A heat gun and scraper for the flat areas, and a chemical stripper for the mouldings and detail where a scraper cannot follow the profile. The aim is to take the failed paint back to bare, sound timber so the new finish keys on properly. On older doors it is worth being careful, as early paint layers can contain lead, so work wet where you can and avoid creating dust.
How do I stop a front door peeling and blistering again after painting?
It comes down to the prep. Strip back to sound timber where the old paint has failed, repair and stabilise any soft wood, knot any live knots, then prime the bare timber before you topcoat. Painting over failing layers or bare, unprimed wood is the usual reason a door blisters and peels within a season. Enough coats of a proper exterior finish then hold up to the weather.
Do you restore front doors on period properties in Brighton and Hove?
Yes. A lot of Brighton and Hove sits in conservation areas with period terraces, and the original front door is usually worth keeping. I strip, repair and repaint period front doors sympathetically, matching heritage colours from ranges like Little Greene and Farrow and Ball, so the door keeps its character and stands up to the coastal weather.
More reading
Related service
Want this doing in your own place? See my period & listed building restoration service across Brighton & Hove.