
Internal House Painting: What to Expect and How to Get It Right
Key takeaways
- Proper preparation takes longer than the painting itself, and that is fine.
- Different rooms need different paint types; one product does not suit all surfaces.
- Woodwork and ceilings need as much attention as walls.
- A clear process from first visit to final coat keeps disruption low.
- Two coats is the minimum for a finish that holds up for years.
Why preparation makes or breaks an internal paint job
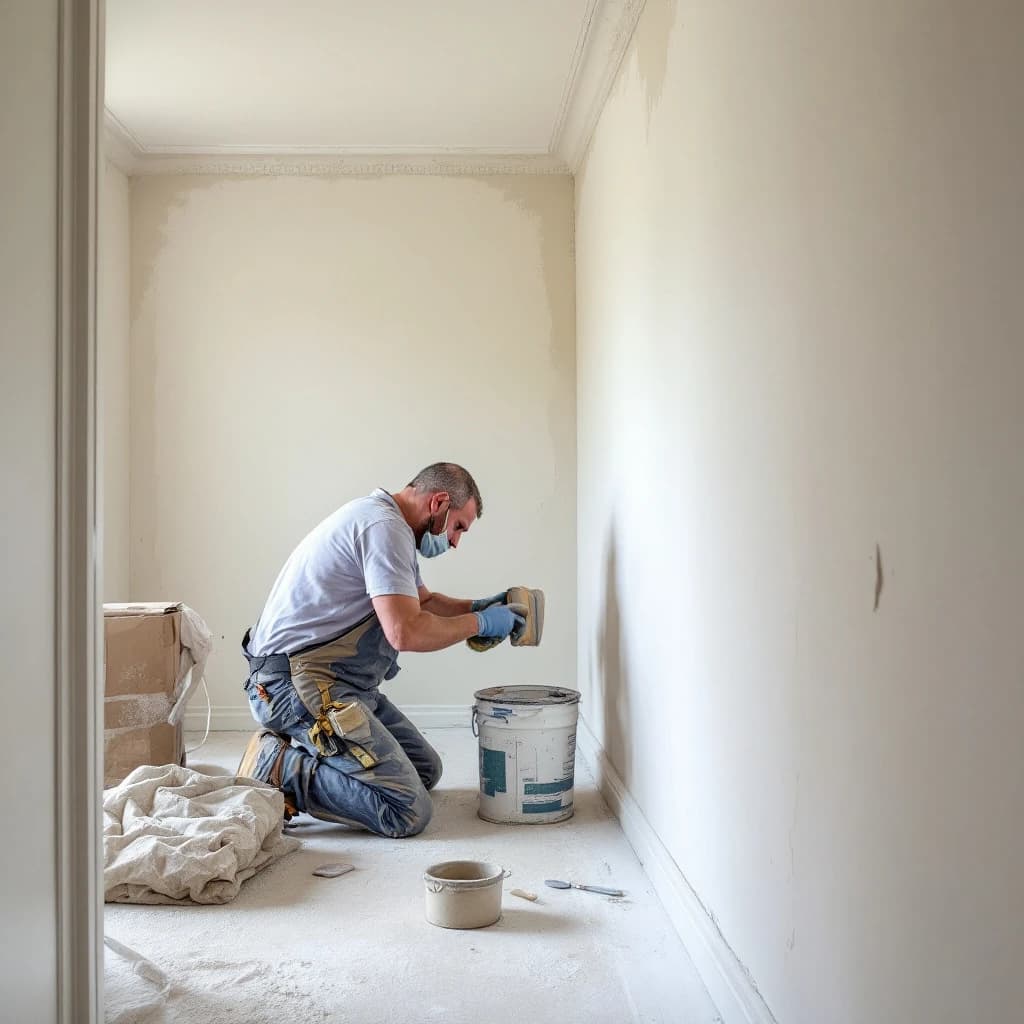
Proper preparation is the single biggest factor in how long a paint job lasts. Filling cracks, sanding surfaces, and priming bare patches all take more time than applying the paint itself. Skip those steps and even a quality emulsion will start to peel or show imperfections within a year or two.
Most paint failures I see are not down to poor paint. They are down to poor prep: dust left on surfaces, old flaking paint not removed, filler applied but not keyed back before coating.
On period properties in Brighton and Hove, there is often a history of layers going back decades. That build-up needs assessing before anything new goes on. Sometimes it is stable; sometimes it needs rubbing back properly. Assessing that build-up is standard on every interior decorating job I price in Brighton.
Proper preparation takes longer than the painting itself, and that is exactly how it should be. The coats applied on top of a well-prepared surface hold up for years. Corners cut at the prep stage show up quickly, and fixing them costs more than doing it right first time.
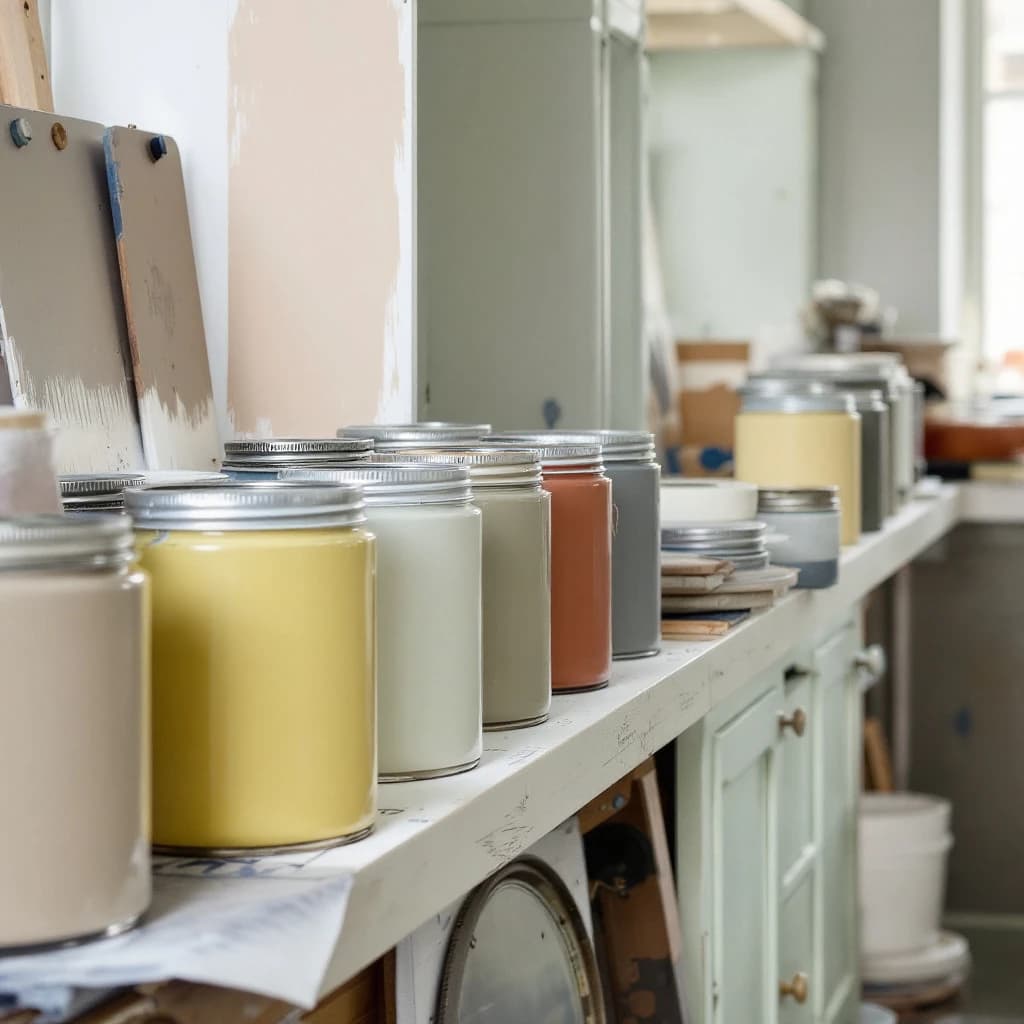
Proper preparation takes longer than the painting itself, and that is exactly how it should be.
The surfaces most decorators rush past
Ceilings, coving, and the junction between wall and skirting are where rushed prep shows most clearly. A hairline crack in the coving or a poorly filled nail hole in the skirting catches the light once the room is painted and is difficult to ignore. Those details are worth slowing down for.
Skirting boards and architraves take knocks over years of daily use. Before any paint goes on, I clean them down, sand back any chipping gloss, and spot-fill where needed. The result is a smooth surface that takes the new coat evenly.
Wall-to-ceiling lines are another area worth care. A clean, straight line between a white ceiling and a coloured wall is one of the details that makes a finished room look properly done rather than quickly done.
In older Hove terraces and period flats, coving is often original and worth preserving. That means filling small losses carefully rather than painting straight over gaps and hoping for the best.
Choosing the right paint for each room
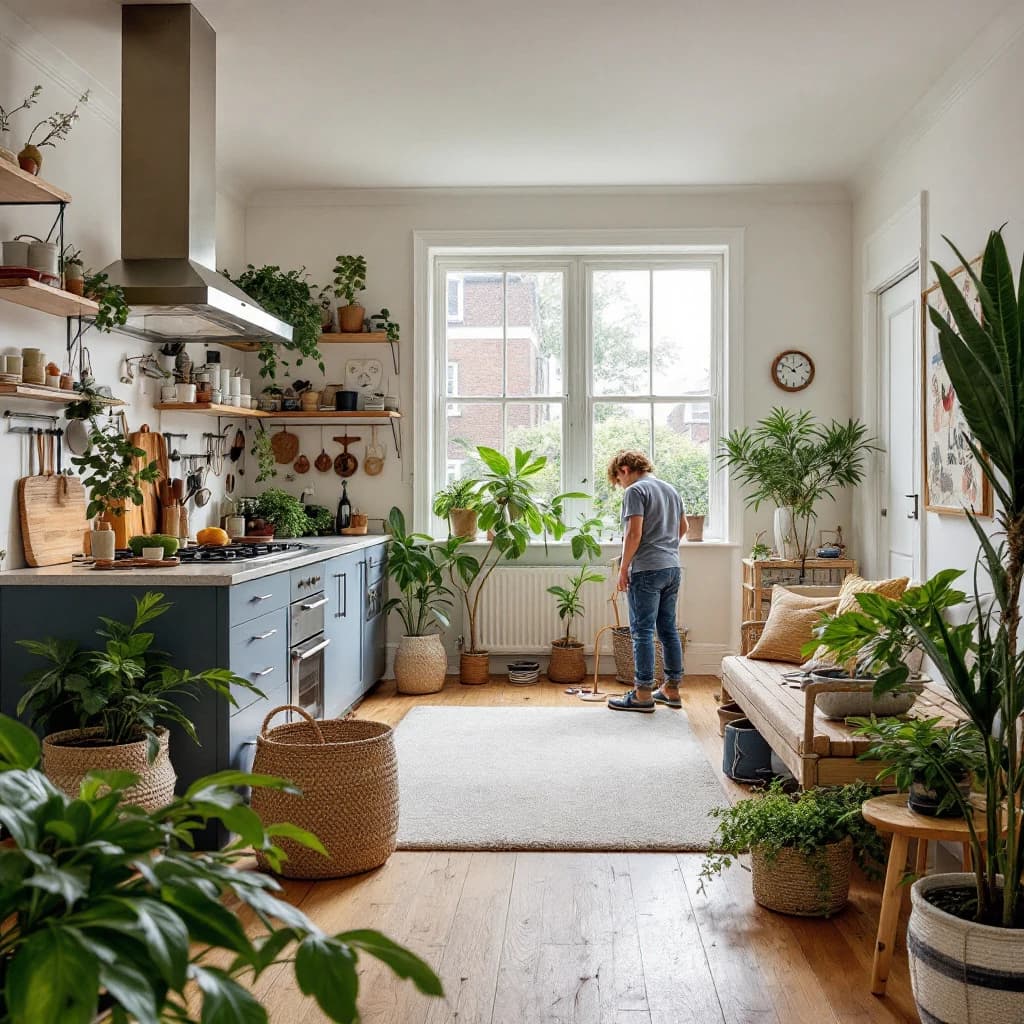
Paint type matters as much as colour. A flat matt emulsion works well on bedroom walls but will not stand up to the moisture in a bathroom or the scuffs in a hallway. Matching the product to the surface and the conditions in each room is what stops you repainting the same wall two years later.
For living rooms and bedrooms, a mid-sheen or matt emulsion is a reliable option. It is forgiving on imperfect walls and gives a clean, settled finish. Kitchens and bathrooms need a moisture-resistant formula; standard emulsion will stain and peel.
Woodwork is a separate consideration. Eggshell paint on skirting, doors, and architraves gives a harder, washable finish that holds up to daily contact far better than emulsion. I work with trade-quality paints including Dulux and Crown, matching trade-grade products to each surface rather than reaching for whatever is available.
Colour choice also affects how many coats you need. Deep or saturated colours may need an extra coat to achieve full coverage, particularly over a lighter existing colour.
- Matt or mid-sheen emulsion for bedrooms and living rooms
- Moisture-resistant emulsion for kitchens and bathrooms
- Eggshell paint for skirting, doors, and architraves
- Specialist primer on bare plaster or heavily patched areas
What the process looks like from first visit to final coat
A typical interior job starts with a visit to assess the surfaces, agree the scope, and confirm paint colours. From there, furniture is moved or protected, prep work is done, and painting follows in a logical sequence: ceiling first, walls second, woodwork last. The goal throughout is as little disruption to your home as possible.
On the first visit I look at the condition of surfaces, note any areas needing more than standard prep, and talk through what you want to achieve. That conversation shapes the quote and avoids surprises later.
During the work, I keep the site tidy. Dustsheets go down before anything else, and I work room by room where possible so parts of the house stay usable. For details on the range of interior and exterior work I cover, that page sets it out clearly.
Once the final coat is dry, I check the finish in good light, touch up anything that needs it, and clear the site before I leave. The aim is a room that looks right and a finish that holds up for years, not just for the photographs.
Frequently asked questions
How many coats of paint does an internal wall usually need?
Most walls need two coats of emulsion for an even, solid finish. Bare or newly plastered walls usually need a mist coat first, followed by two full coats. Very dark or saturated colours going over a pale wall may also need an extra coat to achieve full coverage.
How long does it take to paint the inside of a house?
It depends on the size of the house, the condition of the surfaces, and how much prep work is needed. A single room with walls and woodwork typically takes one to two days. A full house interior takes longer; I can give a realistic timeframe once I have seen the property.
Do I need to move furniture before an interior decorator arrives?
Clearing the room as much as you can helps, but it is not always practical for large pieces. I work around furniture that cannot be moved, covering it with dustsheets before starting. If you let me know what is staying in the room, I can plan around it from the start. To discuss your job, get in touch and I will talk it through with you.
More reading
Related service
Want this doing in your own place? See my interior painting & decorating service across Brighton & Hove.